
I'm into upcycling. I like to take something and make into something newer and cooler and better yet I like to brag about it.
So we all want to get organized right? We all LOVE those pretty covered, handled, labeled bins to put on shelves, on our steps and sometimes just in plain view; because they are so good at hiding clutter and being pretty!! (Hooray for run-on sentences!)
Well, We recently added a Foyling to the family and now I have an abundance of super durable already handled cardboard diaper and wipe boxes. No, I'm not brave enough for cloth diapers, but kudos to all of you who are! But recycling the diaper and wipe boxes makes me feel a little better about the carbon footprint and saves some money because those store bought storage boxes and bins are pricey!!! Especially the ones I always seem to fall in love with!
What I used:
Left over wallpaper from the hallway and dining room
You can also use fabric, felt, contact paper, drawer paper or whatever you like really even your favorite T-shirt that doesn't fit anymore!
Scissors-
Razor knife-
Straight Edge and/or ruler.
Damp cloth-
Dry cloth-
Shallow pan- (for wetting the wallpaper) I use the kitchen sink. :o)
Estimated time: 20 minutes per box just for trimming and placing the paper just how you like.
A Shoutout to Huggies is Here

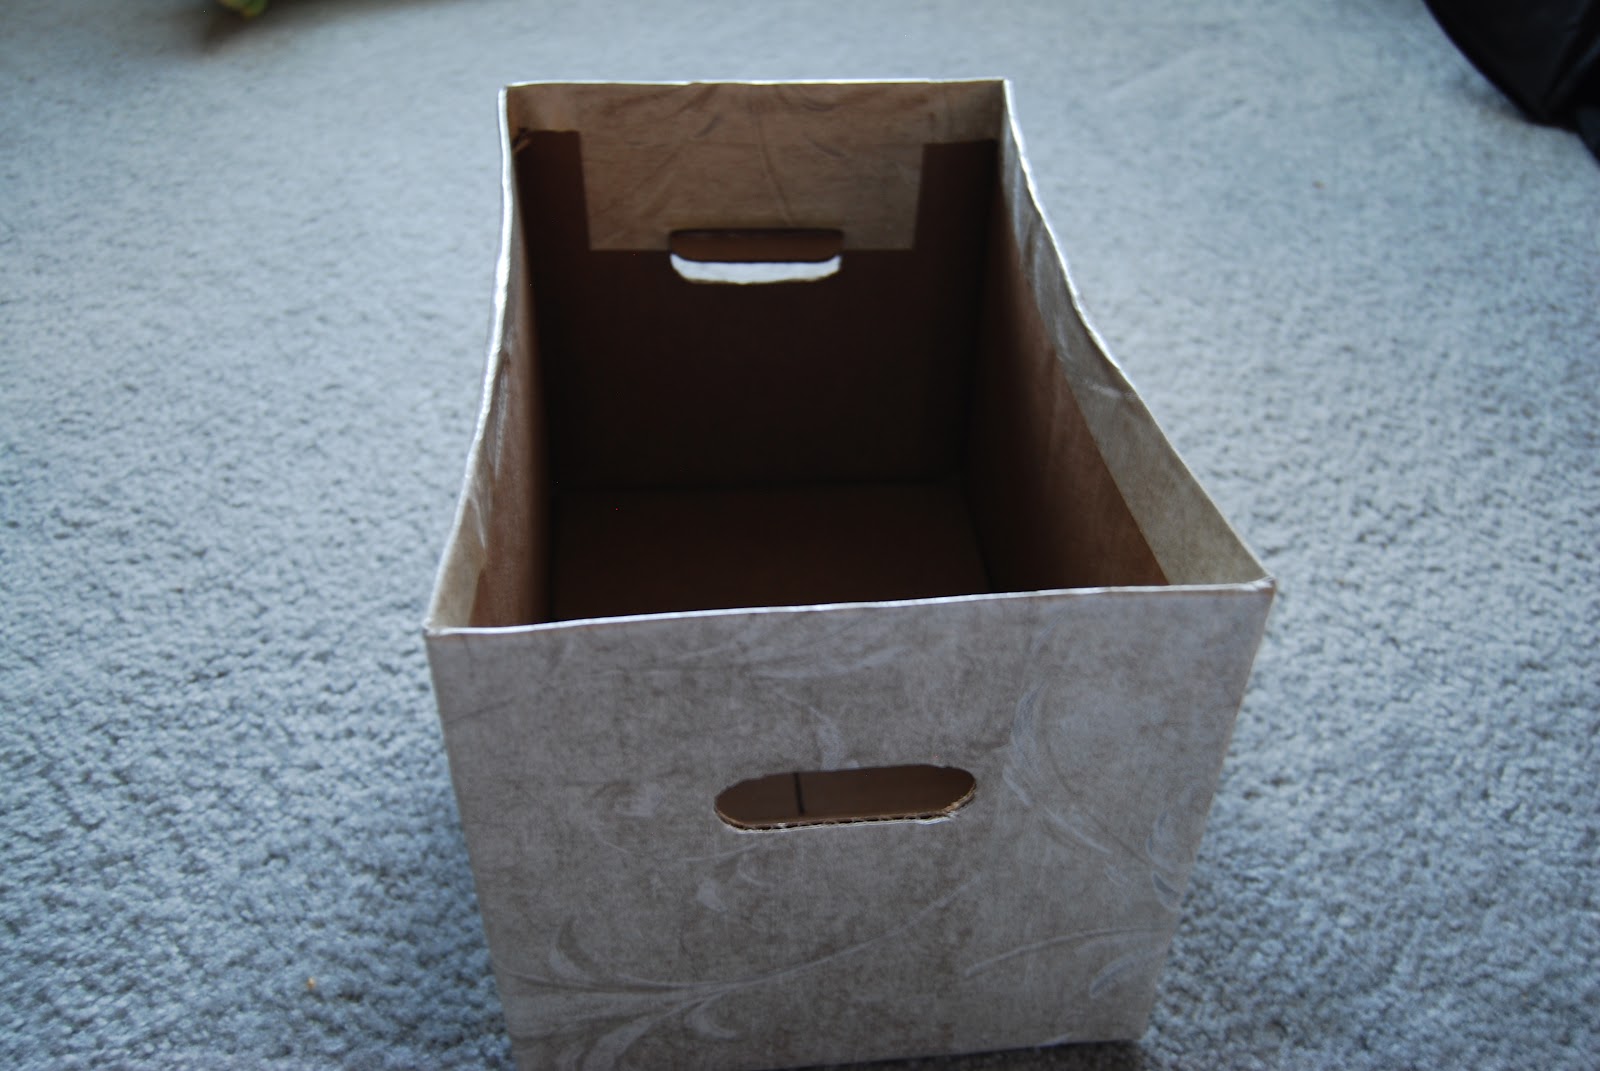
Step one: Remove the flaps from the tops of the boxes and or adjust the height of your box using the ruler, straight edge, and razor knife. Measure twice cut/score once!!!
Step Two: Trim off the little handle flappies if desired, if you want them be sure to cover them too!!
Step Three: Cut wallpaper, or whatever you are using to fit the sides. In my case I didn't mind any over laps or if the pattern wasn't perfect, Give a little thought to how you want it to go. Be sure to leave some excess to fold over the edges inside the box and to wrap underneath the box too.

Step Four: Wet the wallpaper according to the instructions. Don't over wet and let the excess water drip off or your box may warp a bit like this one! :o( But it's ok this one is inside our armoire.

Step 5: Place on box fold, wrap, and trim any left over with scissors, or razor knife.

Step 6: Use damp cloth to push any bubble out to the edges and use the dry cloth to absorb any drips you find and just absorb excess.
Step 7: Let dry. I let mine dry over night. Just in case. :o)

Remember I mentioned pretty labels? Those are coming soon, DIY Chalkboard Labels! :o)
Enjoy your beautiful new storage bins!
No comments:
Post a Comment